Is It Easy to Patch Plaster Wall
Not all homes have walls and ceilings made of drywall or wallboard, which are now standard in most homes. Older homes often have walls made of lath and plaster. If your house is one of these older homes, with time, you are likely to observe large holes and/or cracks in the plaster. Don't let these signs of wear and tear alarm you, because repairing the damage is not very difficult. While it may take a little more skill and time than repairing drywall does, following the simple instructions below should help you do the job easily.
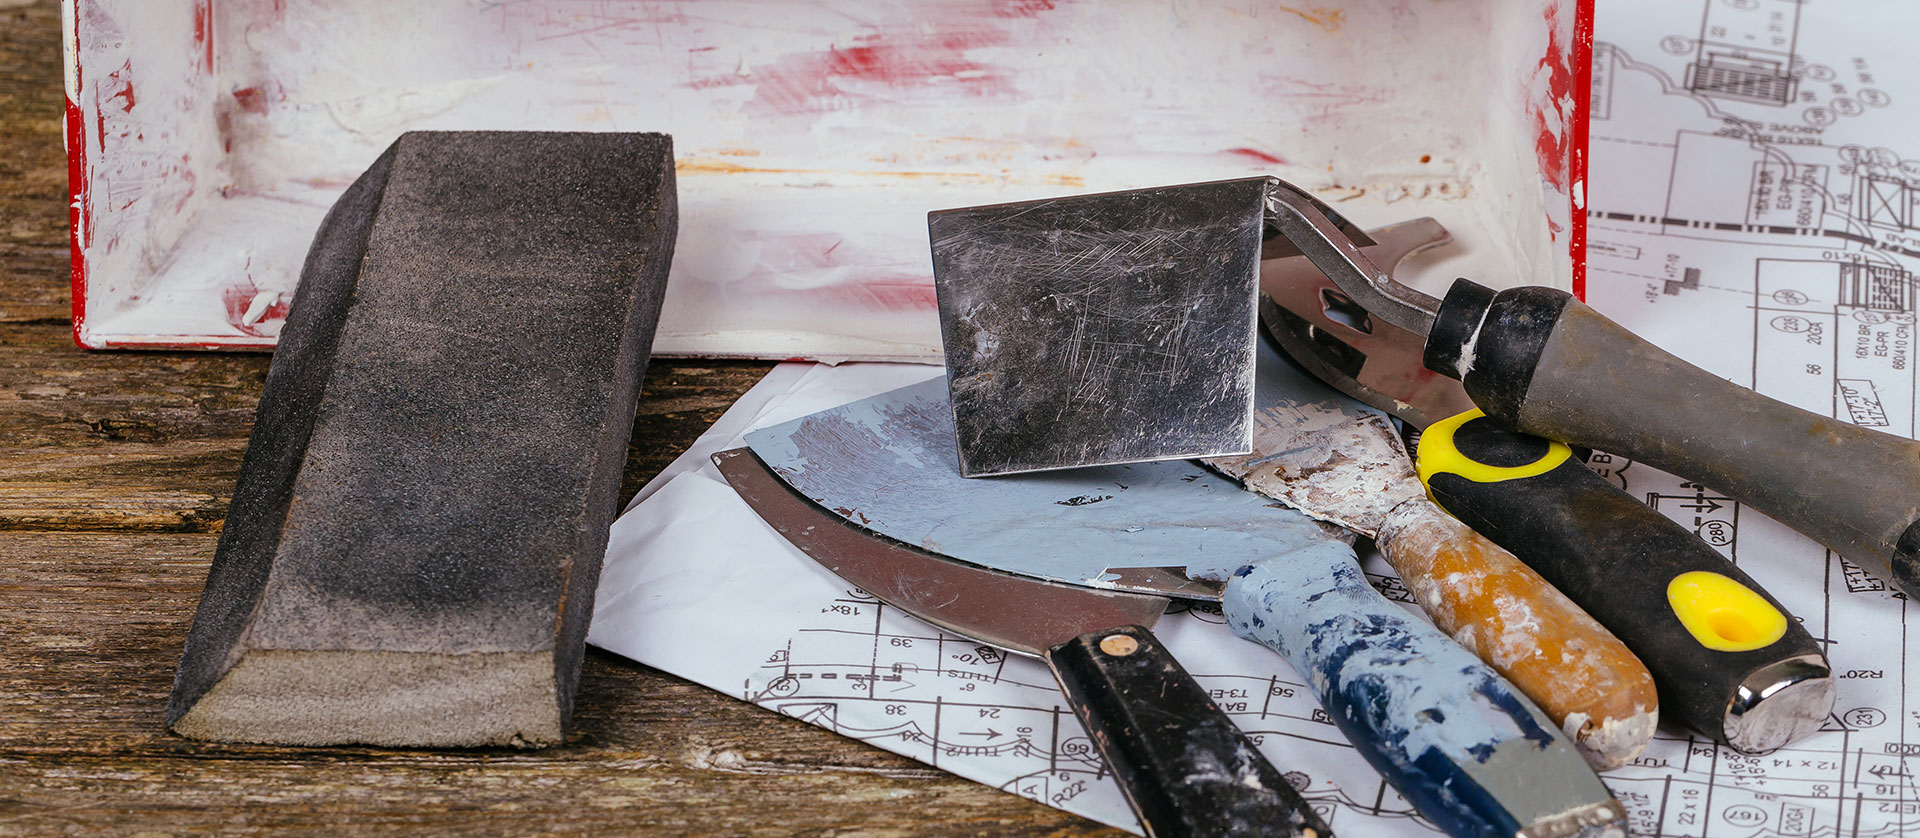
Tools and materials needed for patching plaster

Here's a look at the tools and materials you will need for the job.
- Drop cloth
- Plaster mix
- Plaster trowel
- Ball peen hammer
- Sandpaper
- Sandpaper block
- Wallboard knife
- Utility knife
- Cold chisel
- Mesh drywall tape
- Joint compound
- Safety goggles
- Sanding respirator
- Rags
- Mud pan
- Bucket
- Paintbrush
- Utility knife
The process to fix cracks in the plaster
Preparing the room
Preparing the room before you begin is important because you don't want to get the rest of the room messy with joint compound or splattered plaster while you work. Cover the floor with a plastic drop cloth and secure it in place with painter's tape. This will make cleaning up once you're done easier for you. Cover the HVAC vents in the room with plastic sheeting and tape as well to make sure no dust gets into them.
Smoothing the surface
Next, use a putty knife to remove any loose plaster pieces and smoothen jagged edges around the area of the crack. Then, wipe away any dust and debris using a rag.
Patching the crack

Spray some water and dampen the area that needs to be repaired. Mix the dry plaster and water in a large bucket, making sure to follow the instructions given by the plaster manufacturer. Once it is mixed, pour it from the bucket into a mud pan.
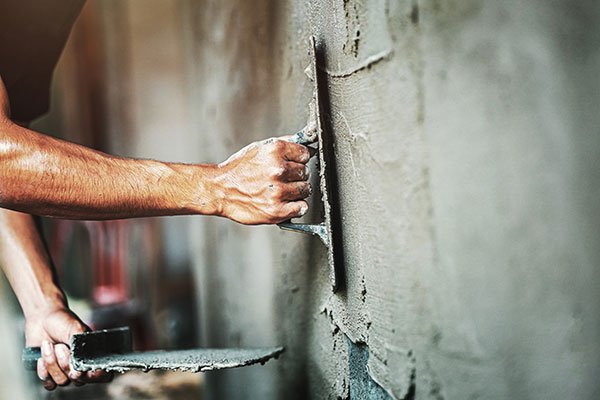
Use a 4" wallboard knife to apply the plaster to the crack. Be careful, because you will want the new layer to be even with the rest of the wall. Most cracks will not need more than a single layer of plaster and will need around 24 hours to dry.
Finishing up
Use a piece of fine-grit sandpaper and work over the area you patched until it is smooth. Use a damp cloth to wipe away the sanding dust and debris. Then, wipe down the area with a wet sponge and apply a coat of primer. Once that is dried, you can apply your first coat of paint,
Pro tips for patching plaster
- Always use protective gloves and a sanding respirator while sanding an area.
- If the wall has leaks, address those before starting to work on the cracks. This is because excessive moisture on the surface can negatively affect plastering.
- Make sure you maintain an ideal room temperature of between 55 degrees to 70 degrees Fahrenheit for at least 24 hours before you start the plastering work for the best results.
- If you're dealing with small holes and cracks, you can fix them using a spackle and a joint compound instead of dry plaster.
Keep your house in shape with My Maintenance
Make homeownership easy with Kukun's customized home maintenance schedule and service provider notifications.


The process to fix holes in the plaster
Preparing the wall
Use a ball-peen hammer and cold chisel to chip off all the damaged plaster from the wall. Be careful not to chip too hard though, because you do not want to damage the lath behind the plaster. Then, use a utility knife and smoothen the edges inside the hole.
Applying a bonding agent
You will want to avoid the dry plaster and the lath from absorbing too much moisture. To do this, use a paintbrush to apply a latex bonding agent to the lath and exposed plaster.
Applying the first coat of plaster
Use a drywall knife to fill the hole with plaster. As the first layer of plaster starts to set, cross-scratch or score it using a putty knife. This will help the second layer bind more easily.
Applying the second layer of plaster
Once the first layer of plaster has dried for 24 hours, apply a second layer ⅜ inches thick on top of the first and like you did before, score it with a putty knife. Let this dry for 24 hours as well.
Applying joint compound
Apply the first layer of joint compound, making sure the hole is covered and is level with the rest of the wall. Once it has been set, use fine-grit sandpaper and smoothen it level with the wall. Then, apply a second, thinner layer of joint compound, making sure it blends with the wall. Once the second layer has dried up, the wall is ready to be primed and painted.
Patching plaster costs
Expect to spend between $50 and $80 per square foot to repair plaster.
Read more: DIY tips to skim coat drywall
![]()
Written by Narayan Shrouthy. January 11, 2022
Narayan is a content writer for Kukun. With experience in both content writing and editing, Narayan mixes his writing and love for reading with his passion for music. As an active musician, He aims to be a key player in Kukun's content experience.
Source: https://blog.mykukun.com/patching-plaster-walls/
0 Response to "Is It Easy to Patch Plaster Wall"
Post a Comment